Introduction
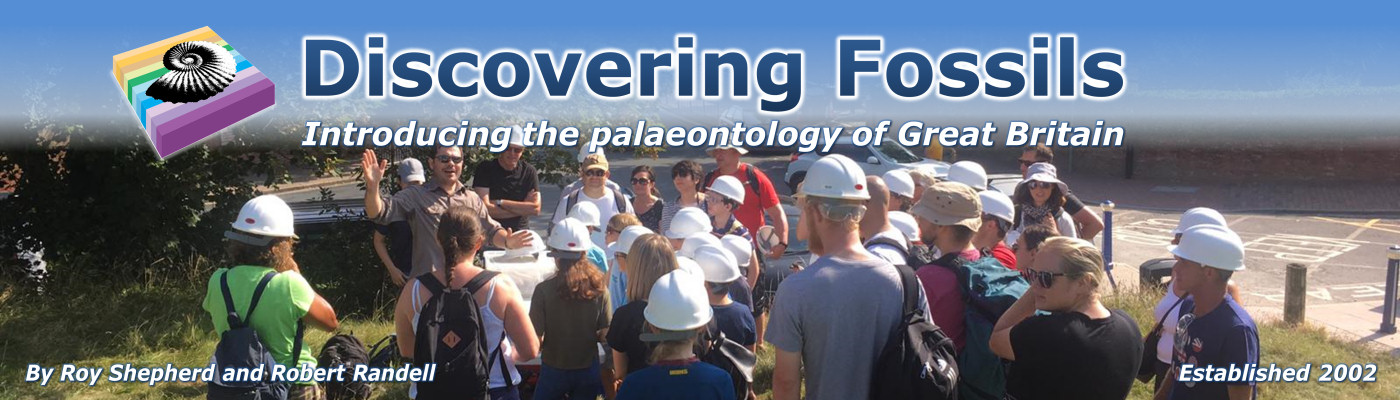
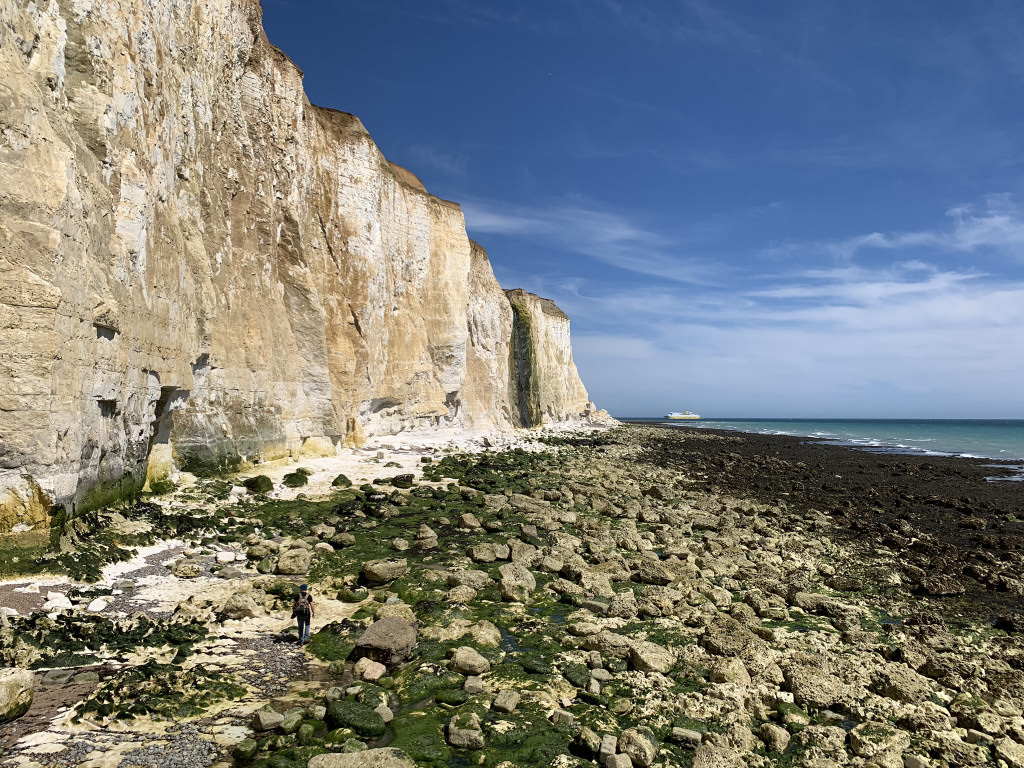
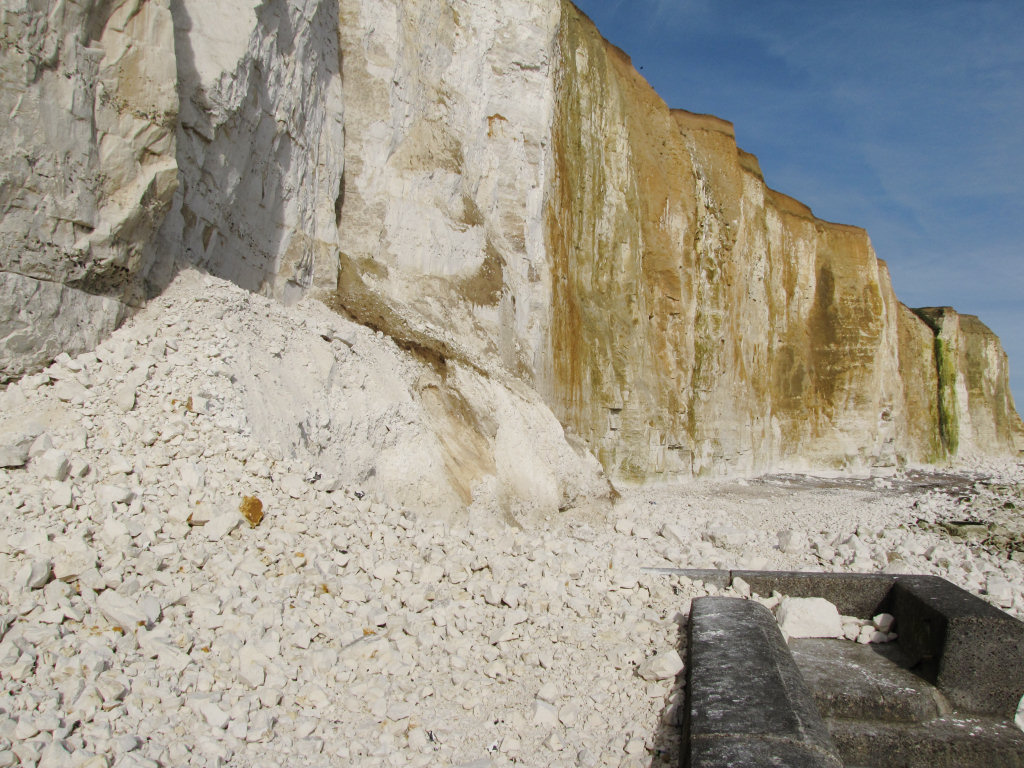
Peacehaven is a small coastal town of 13,000 people in the Lewes district of East Sussex, located 6 miles east of Brighton. From its cliff-top vantage point the town has stunning views of Friars Bay and the English Channel. At the base of the cliff is a substantial concrete sea defence and promenade built in stages between 1976-1996 to reduce the rate of cliff retreat. The robust defences protect the majority of the cliff, however the exposed foreshore is left unprotected and subjected to intensive erosion, and it’s here that Peacehaven has gained a reputation for some of the most spectacular fossils in the UK.
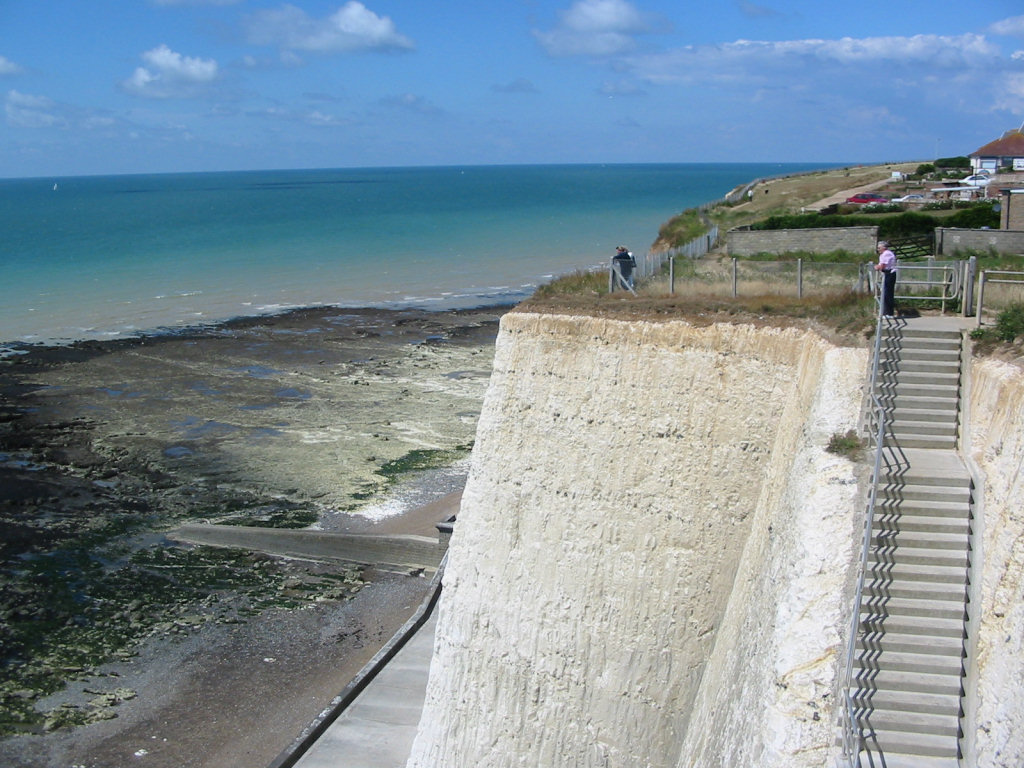
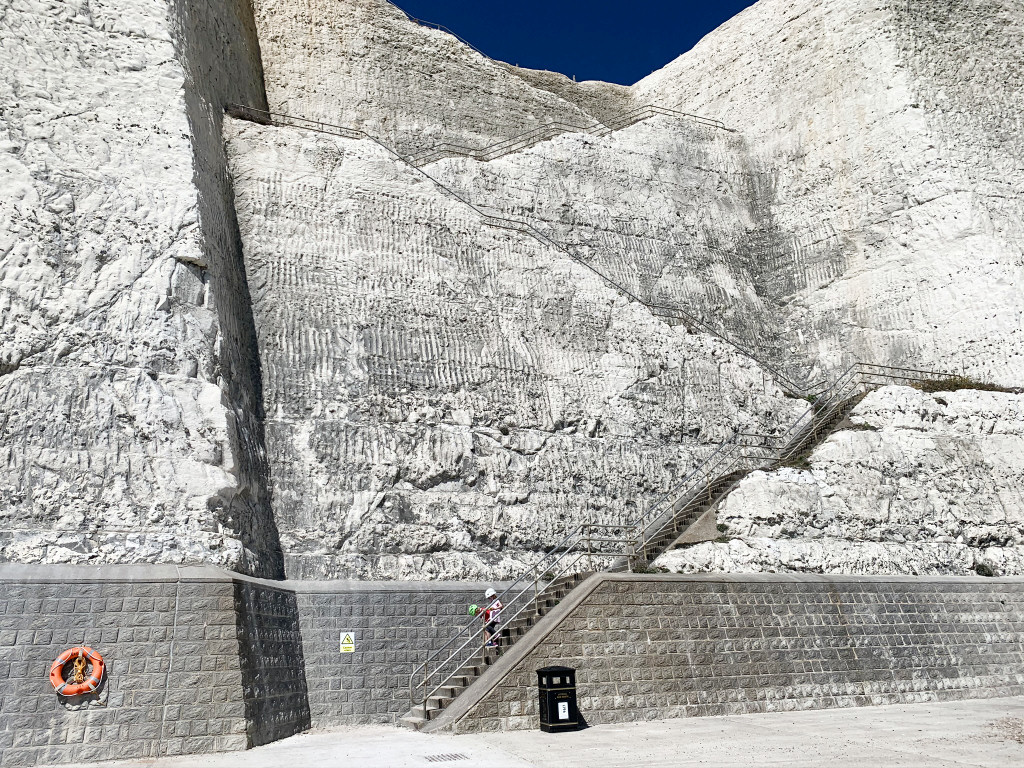
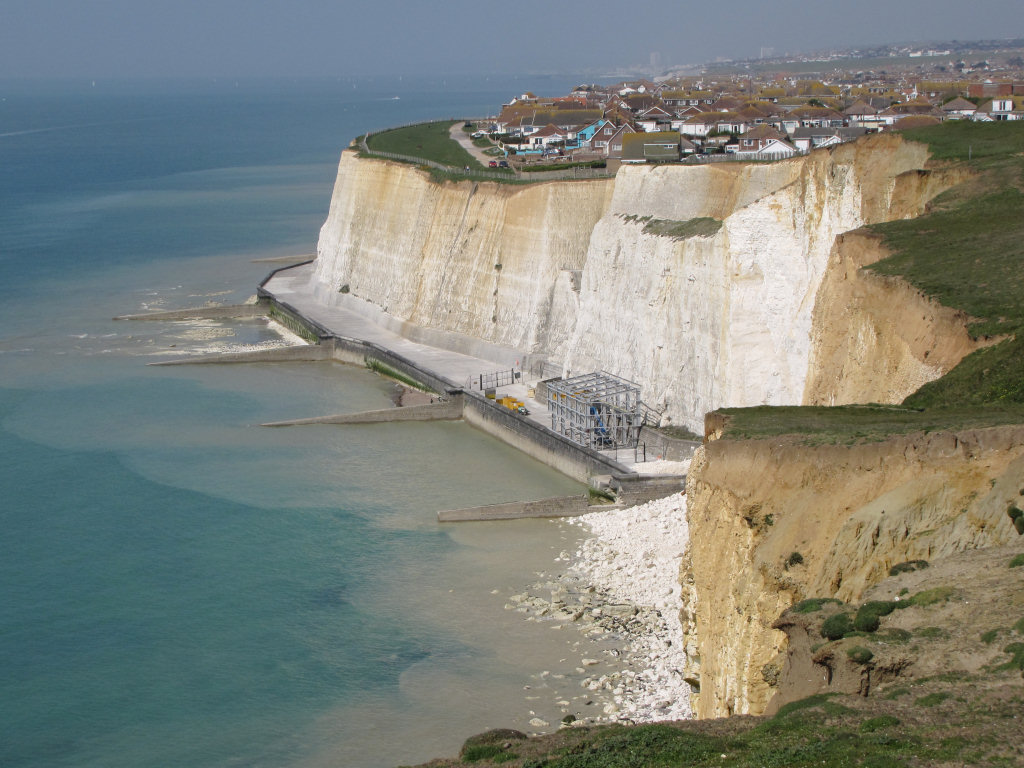
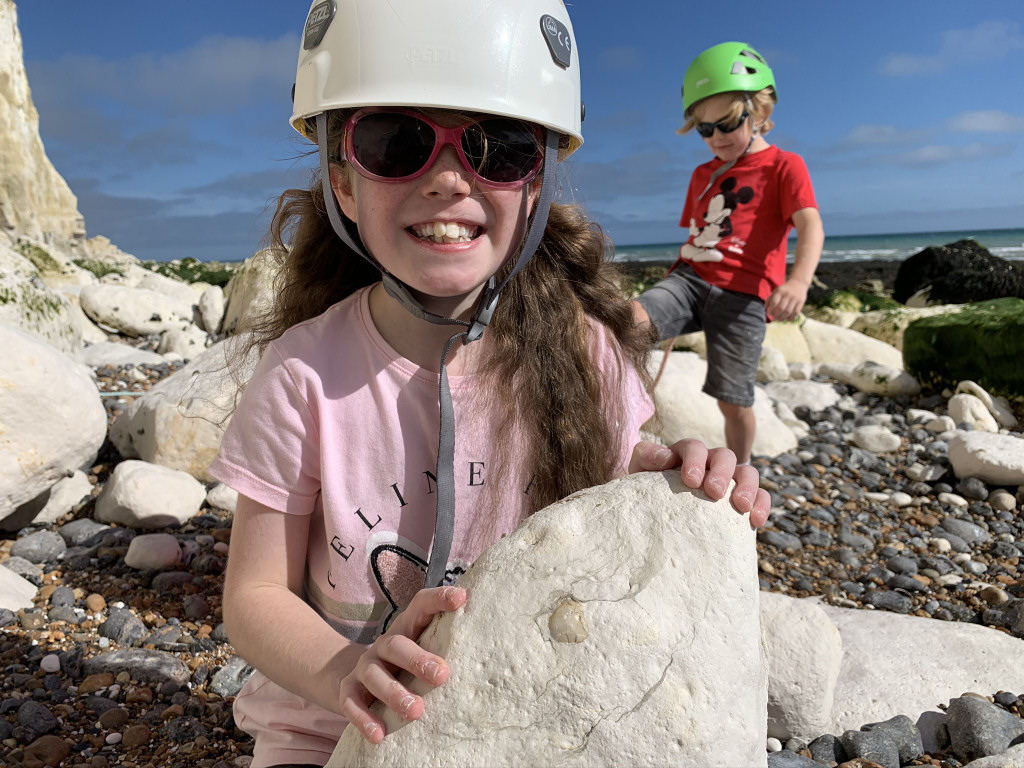
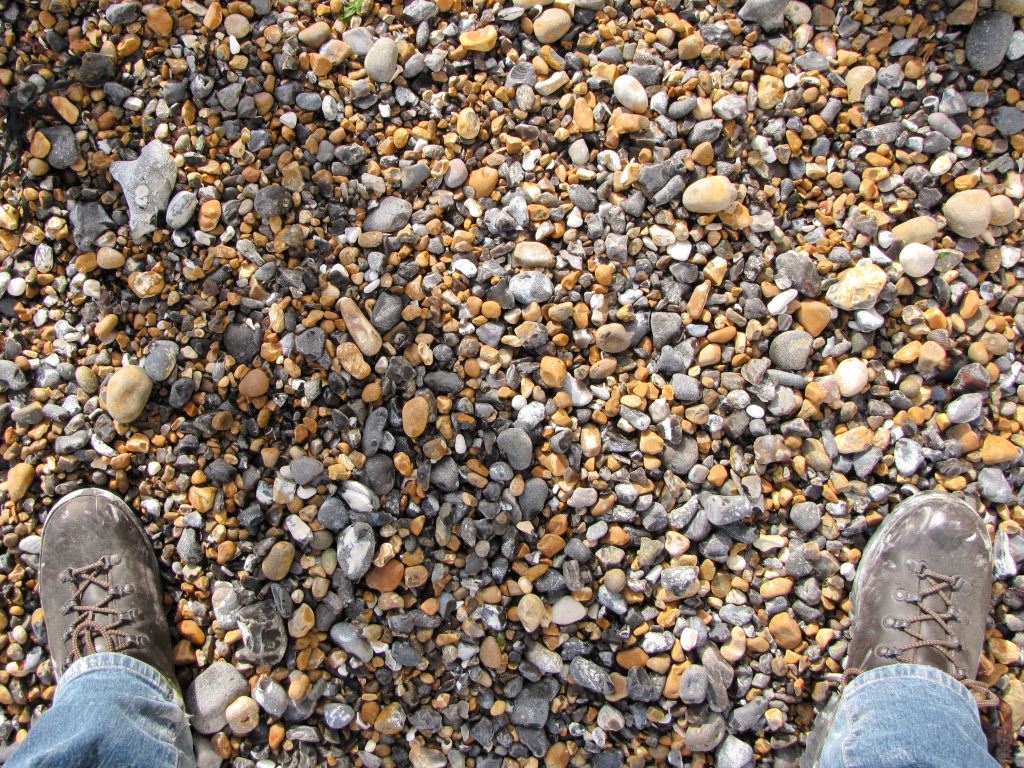
Access to the beach is made a set of concrete steps cut into the cliff face. Plenty of roadside parking is available in the local roadside near the top of the steps.
The geology of Peacehaven
The cliffs and foreshore between Peacehaven and Newhaven represent a period of history dating from the Campanian stage of the Late Cretaceous epoch, between 83.5 – 78 million years ago (mya). At this time Peacehaven and much of Great Britain, along with Europe, lay beneath a relatively shallow sea around 40°N of the equator, on an equivalent latitude to the Mediterranean Sea today.
In comparison with present-day conditions, global sea-levels during the Late Cretaceous were over 200 metres higher. The higher sea levels likely reflect a combination of extreme greenhouse conditions and heightened plate tectonics. Elevated plate tectonic activity and the associated volcanics delivered greenhouse gases to the atmosphere, fuelling the greenhouse effect. Global high temperatures melted much (perhaps all) of the ice at high latitudes, introducing significant amounts of water to the world’s oceans. Uplift of the ocean-floor in regions of active plate tectonics displaced further water onto the continental shelves.
The evidence of higher sea levels is reflected in the white Chalk at Peacehaven. The purity of the Chalk indicates its formation took place far from land, free of terrestrial sands and silts that would otherwise have coloured it. The Chalk is largely comprised of the skeletal remains of planktonic algae known as coccolithophores which accumulated to form a white ooze on the seafloor. This soft sediment was later compacted and hardened (lithified) to form Chalk – a relatively soft rock itself. To discover more about the Chalk click here.
Today the Chalk appears above sea level, the result of lower present-day sea levels and widespread uplifting caused by the pressure of the European and African continental plates colliding (generating the Alps), a process that took place at its greatest extent 30-25 mya. More recently, following the end of the last ice age and subsequent increase in sea levels (albeit to a less extent than 84 million years ago), the coastline has moved inland, exposing the elevated Chalk to intensive erosion and sculpting it into a vertical cliff-face.

The earliest Chalk at Peacehaven belongs to the Lower Newhaven Chalk Formation and dates from 83.5 mya. This particular unit of Chalk, known as the Old Nore Beds, appears on the foreshore immediately north-west of the steps and higher up in the cliff at Friar’s Bay (see Figure 1 above). It’s from these beds that the giant ammonite Parapuzosia is most commonly found.
Moving further up the cliff are the Peacehaven, Meaching and Bastion beds of the Newhaven Chalk Formation, and the Castle Hill Beds of the Lower Culver Chalk Formation; each bed is distinguished by subtle changes in lithostratigraphy (rock type) and biostratigraphy (fossil content). The Peacehaven beds mark a conspicuous increase in flint from this point upwards, however for the purposes of this report the overlying beds can generally be considered very similar.
Where to look for fossils?
Fossils can be found in both directions from the access point at Peacehaven steps. To the right (north-west) the cliffs are protected by the concrete sea defence and therefore subjected to minimal erosion; however, the unprotected foreshore provides plenty of opportunity to view fossils.

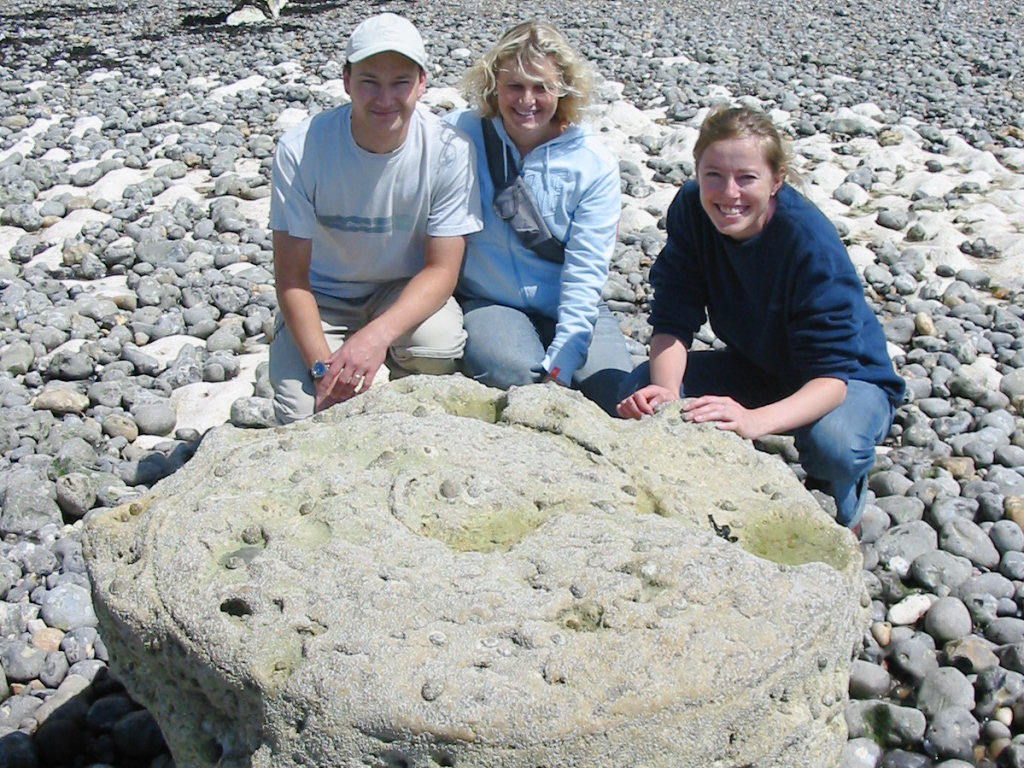
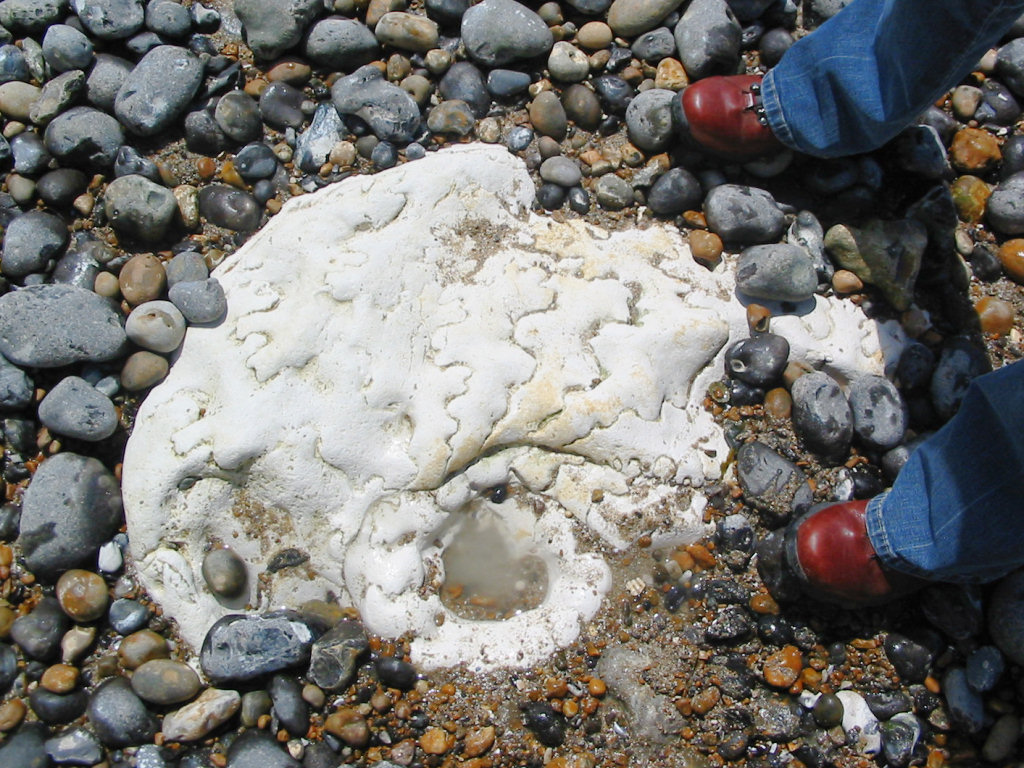
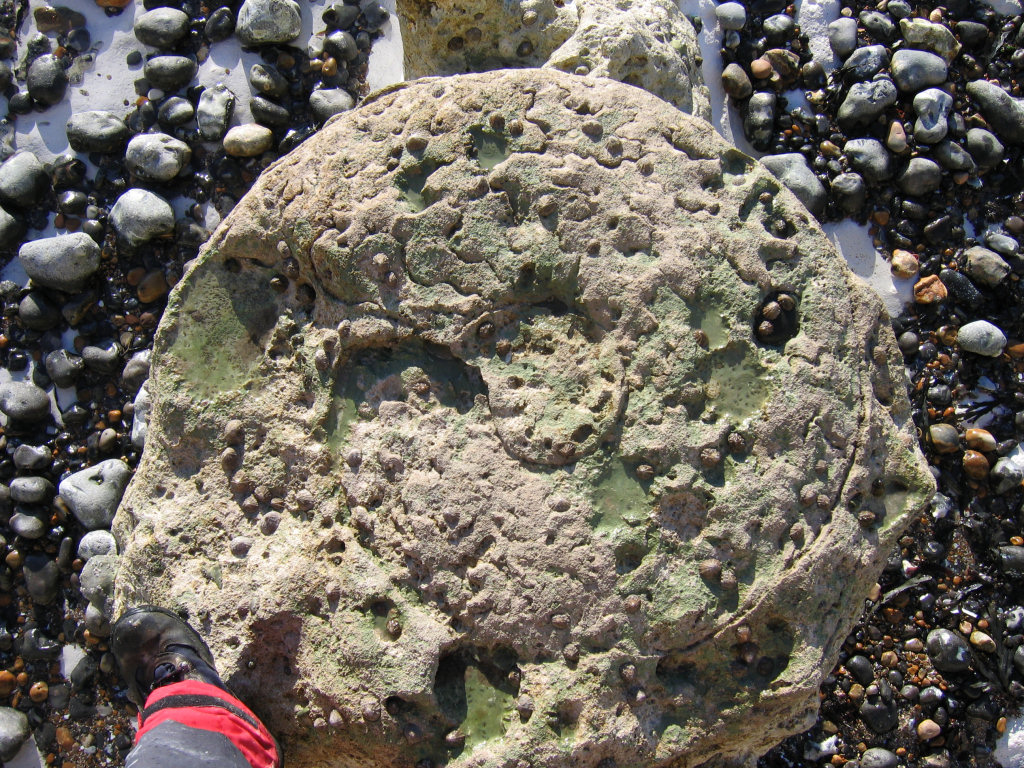
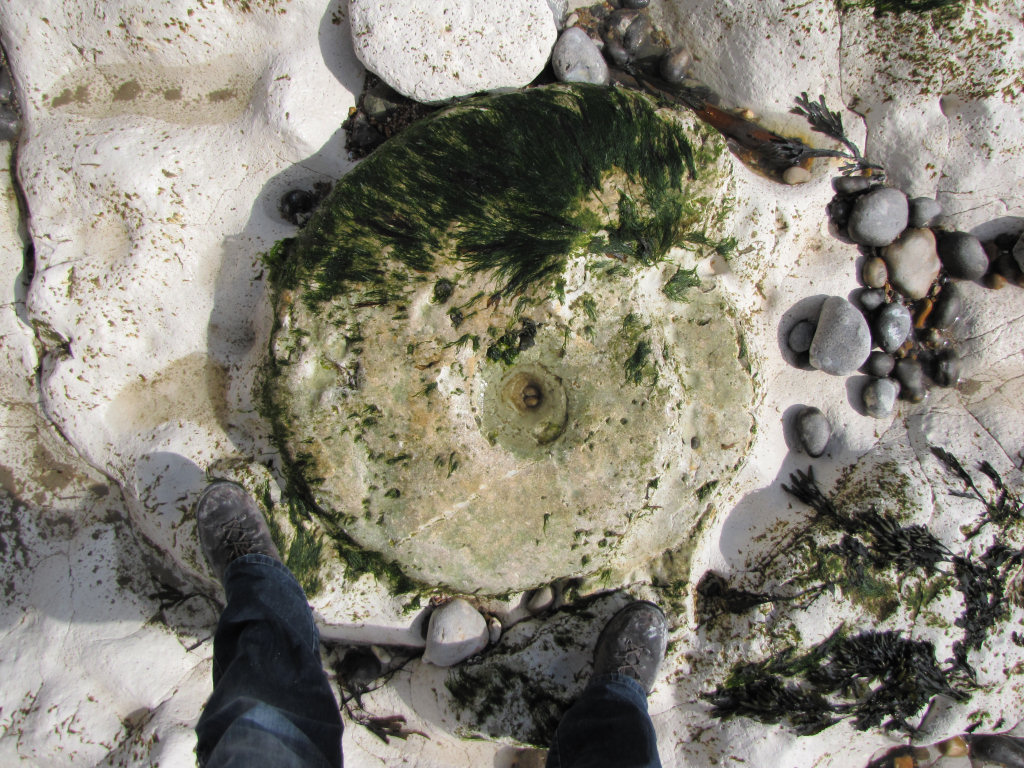
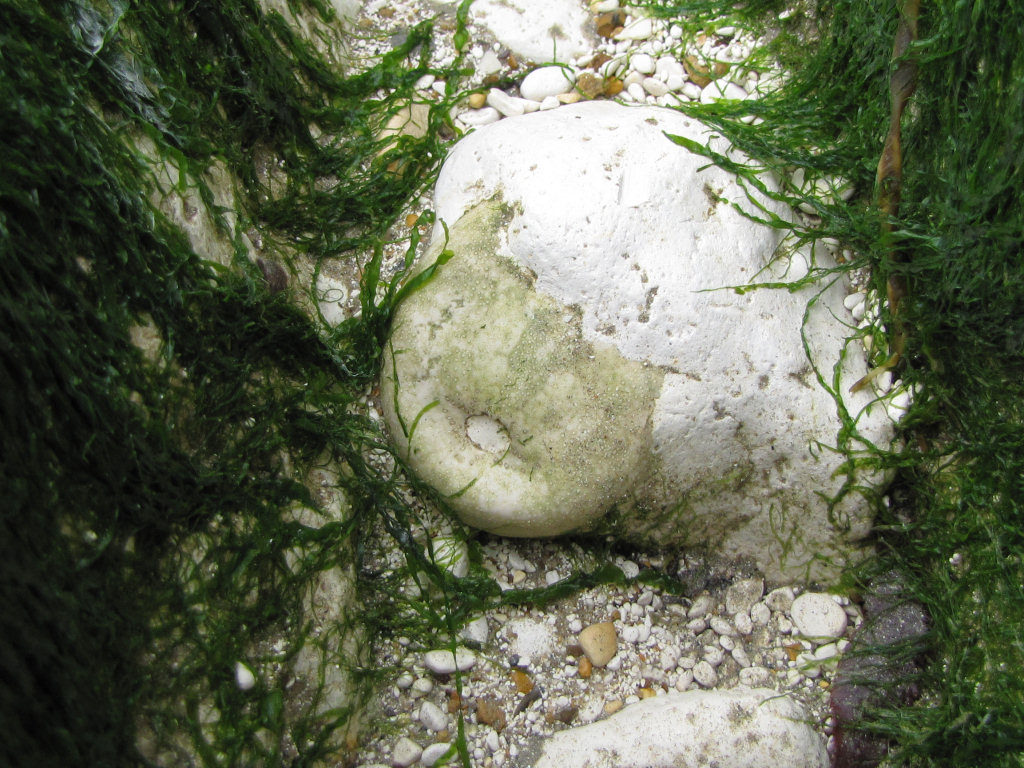
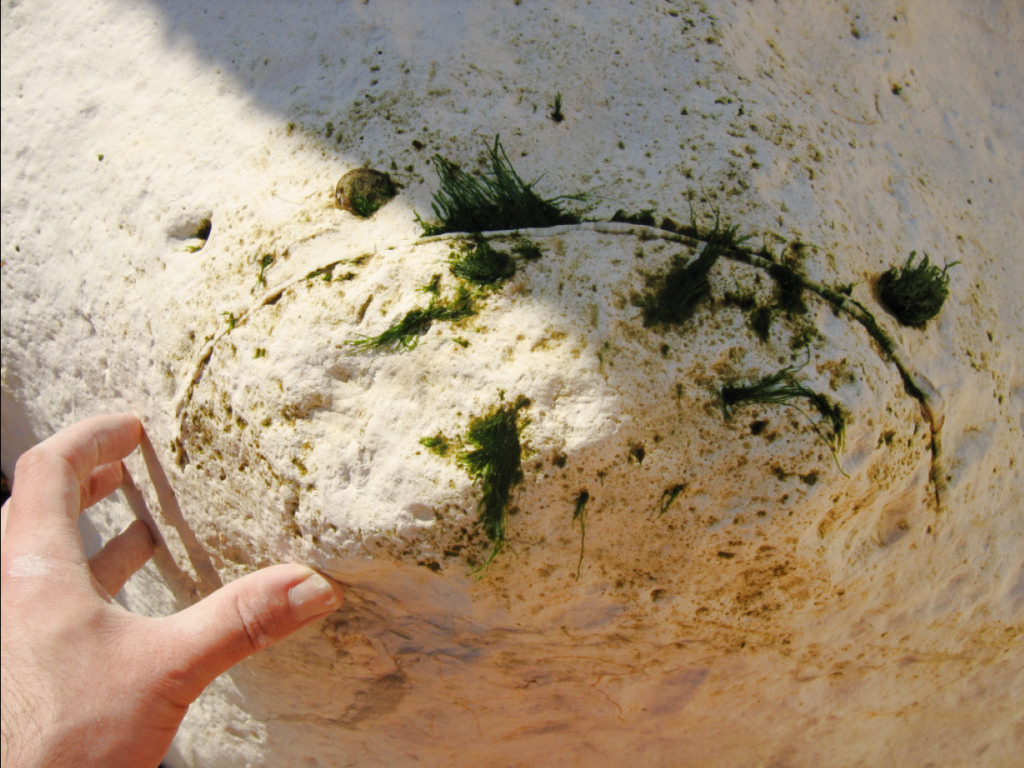
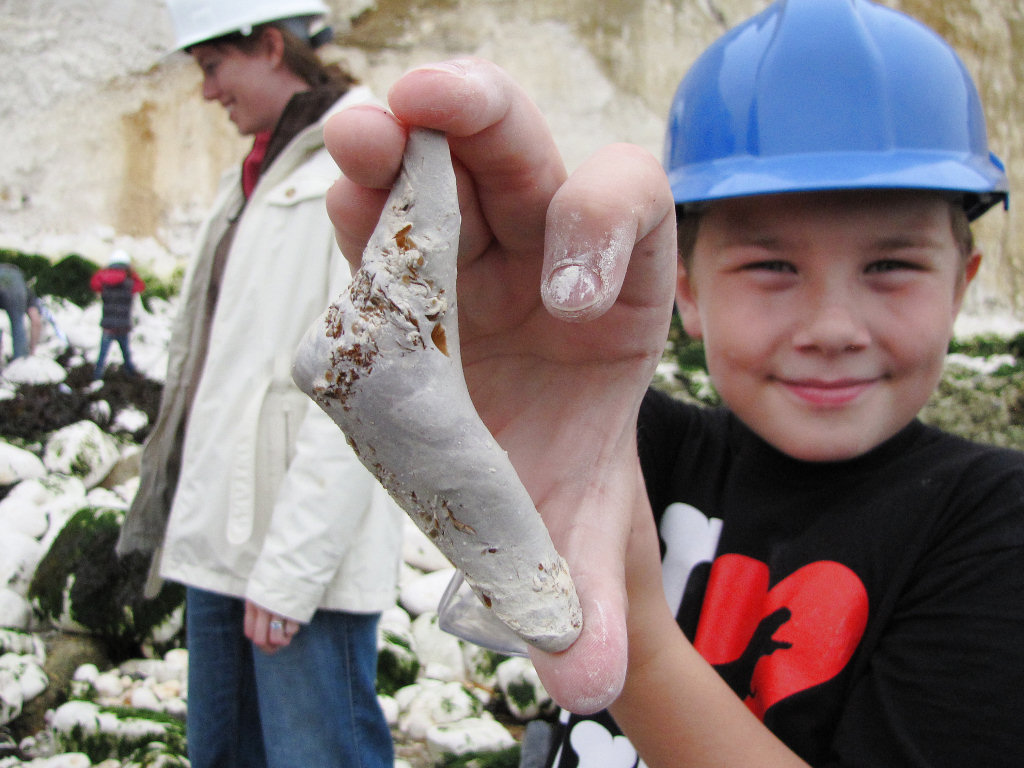
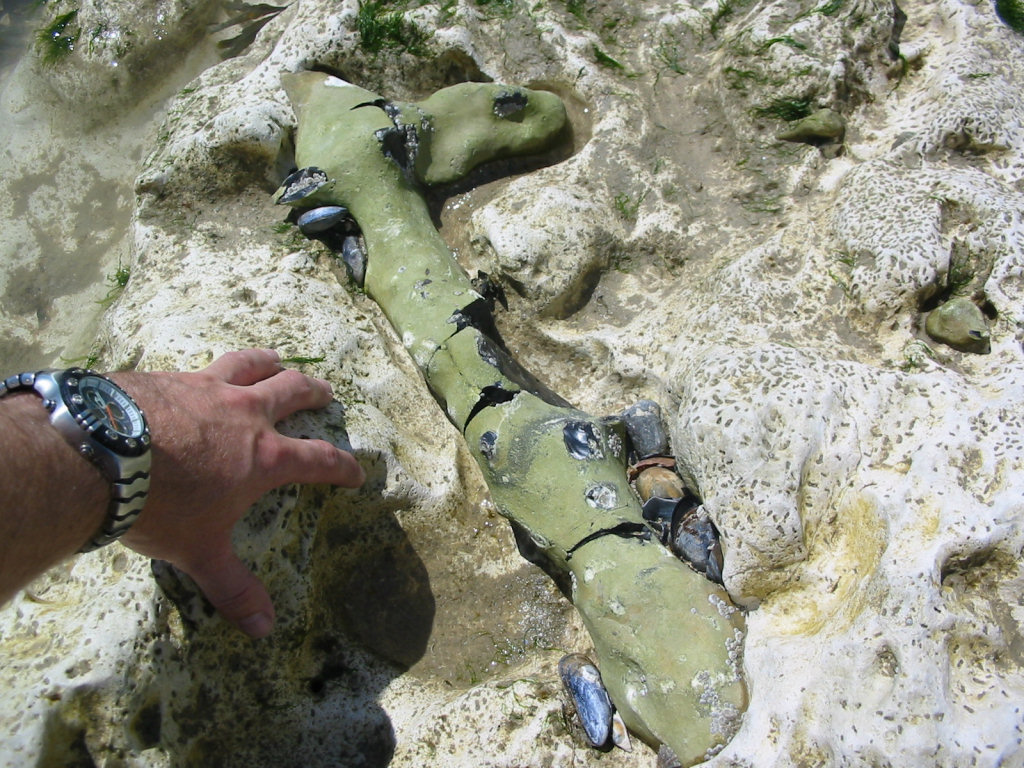
Peacehaven is famous for its giant Parapuzosia ammonites that appear most frequently in situ on the foreshore north-west of the steps. Despite measuring over 6 feet across in some instances, the ammonites are not immediately apparent to passers by. The best time to view them is at low-tide when the sea is sufficiently low and the foreshore is well exposed. From a distance many of the ammonites can be spotted as pedestals raised above the foreshore (see below). The pedestal shape is caused by the softer surrounding Chalk being eroded by the scouring action of the sea, leaving the harder more resistant ammonite protruding above the surface.

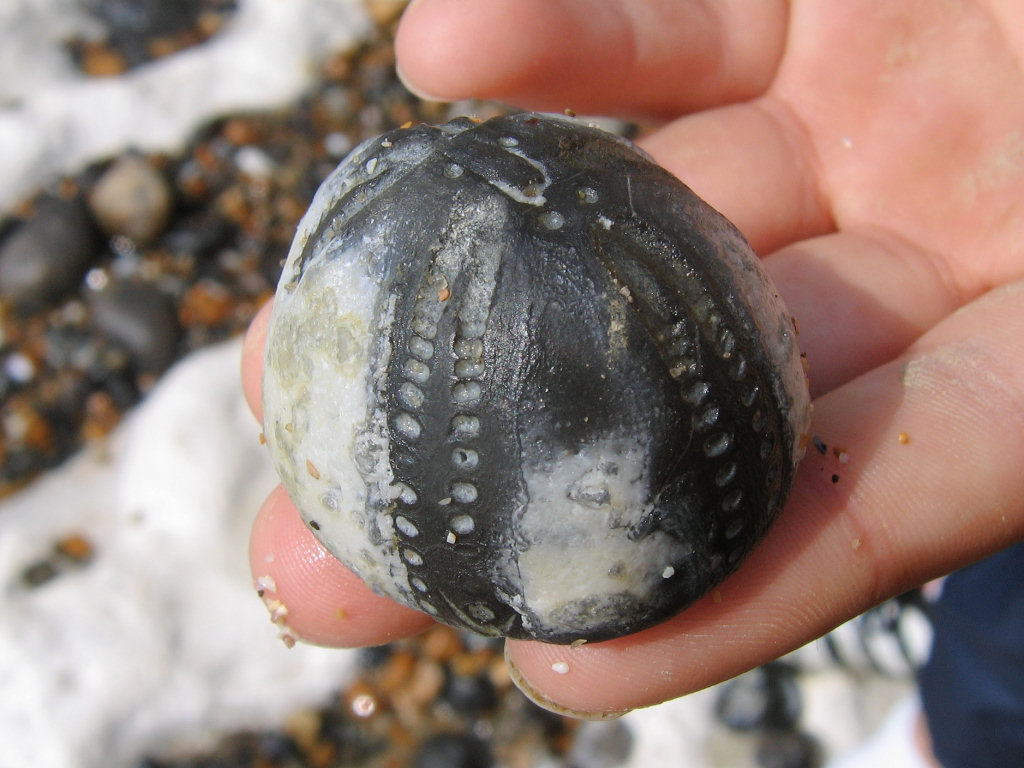
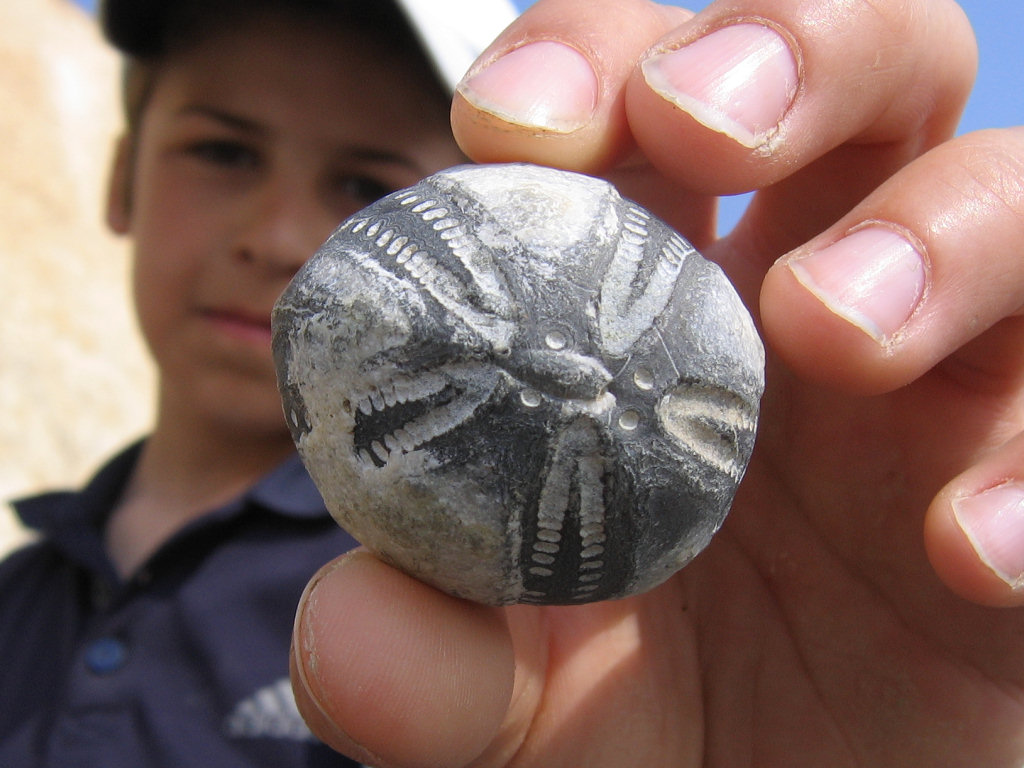
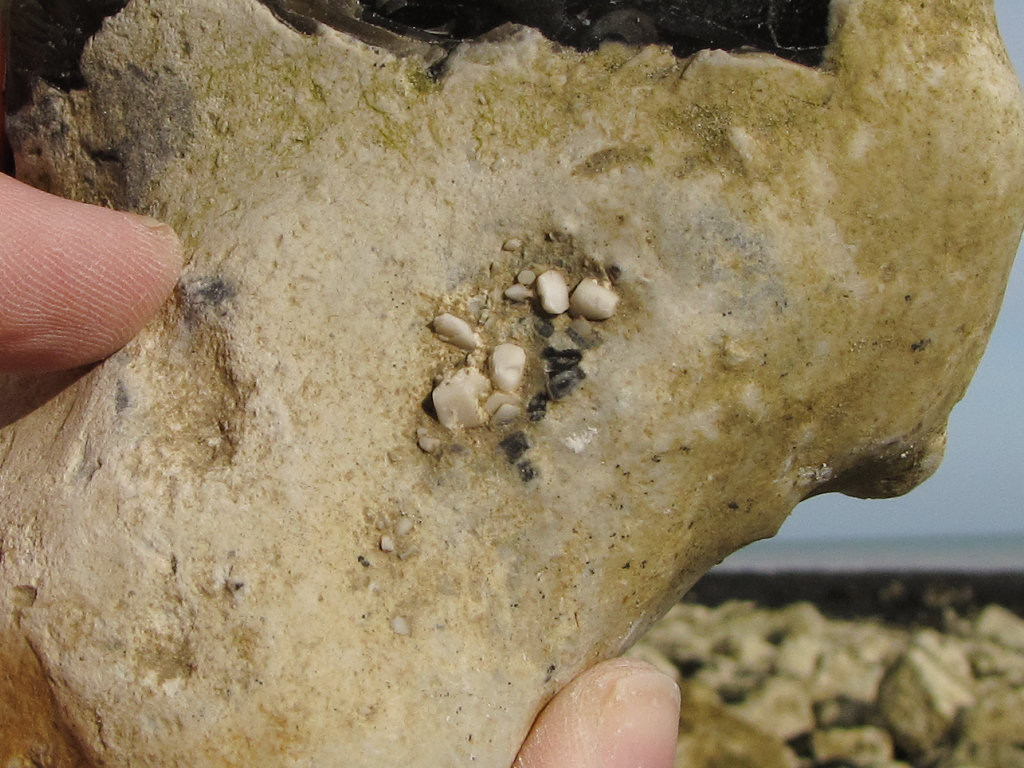
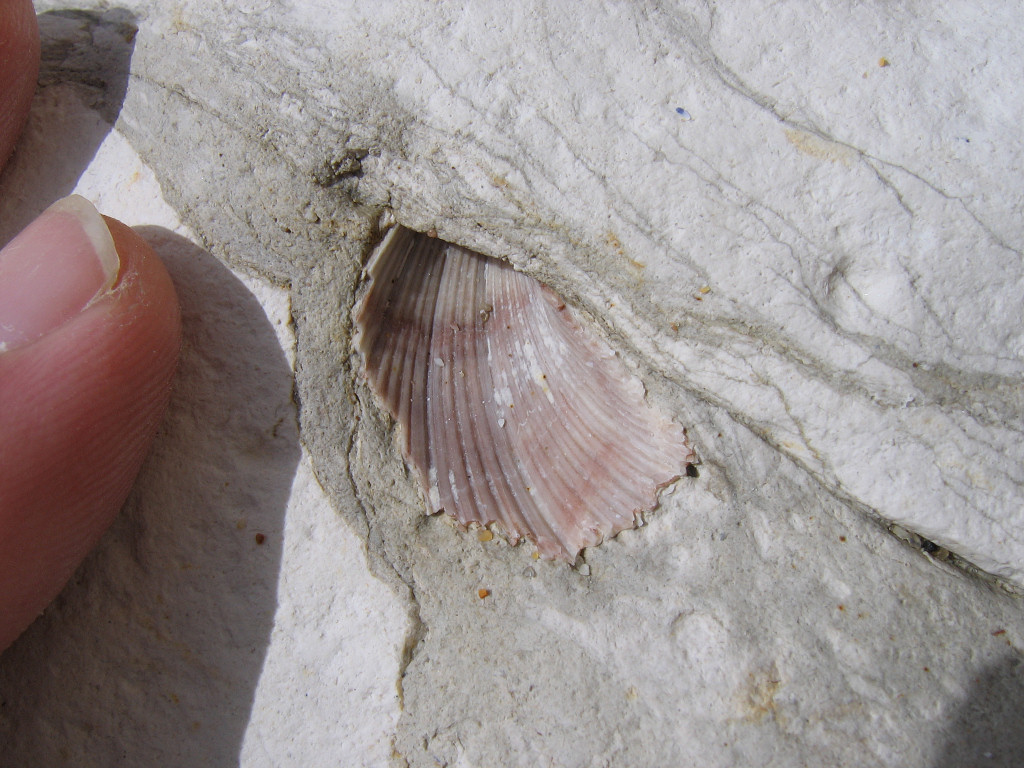
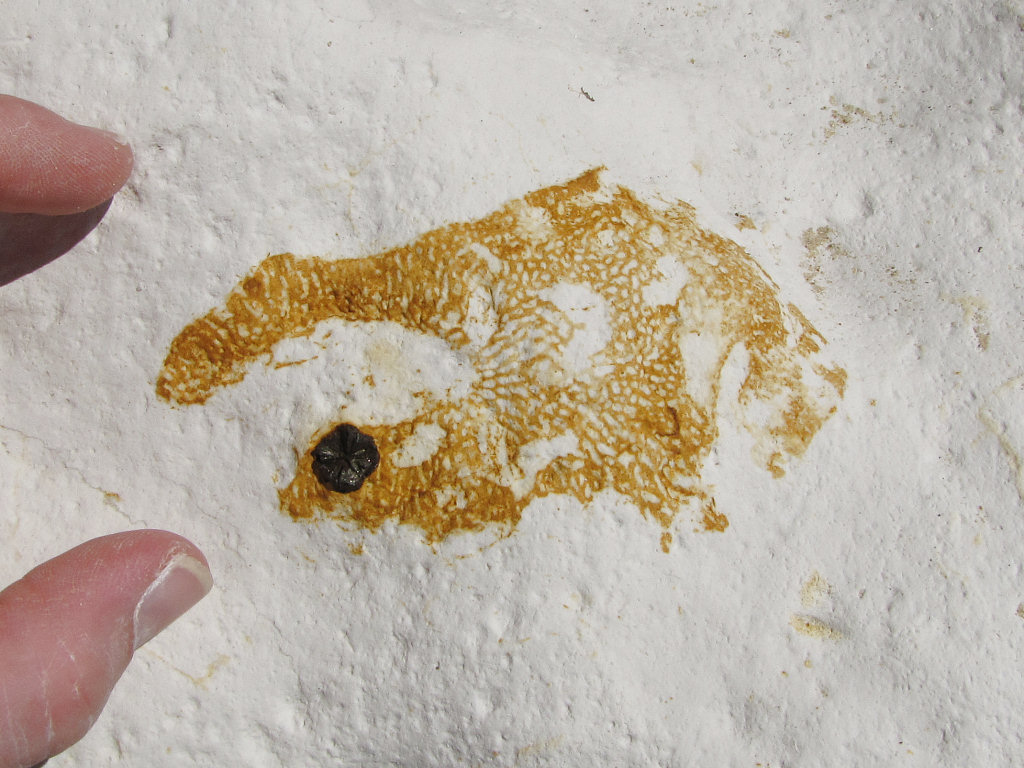
A variety of other fossils can also be found in situ on the foreshore, in particular echinoids, sponges and bivalves. Although collecting isn’t permitted a great appreciation for the Late Cretaceous marine environment can be gained from their observation. Please note the beach platform and cliffs beneath Peacehaven are assigned SSSI status, which requires visitors avoid damaging (including hammering) the area. From a fossil collecting perspective this means it’s not permitted to extract specimens that are in situ.
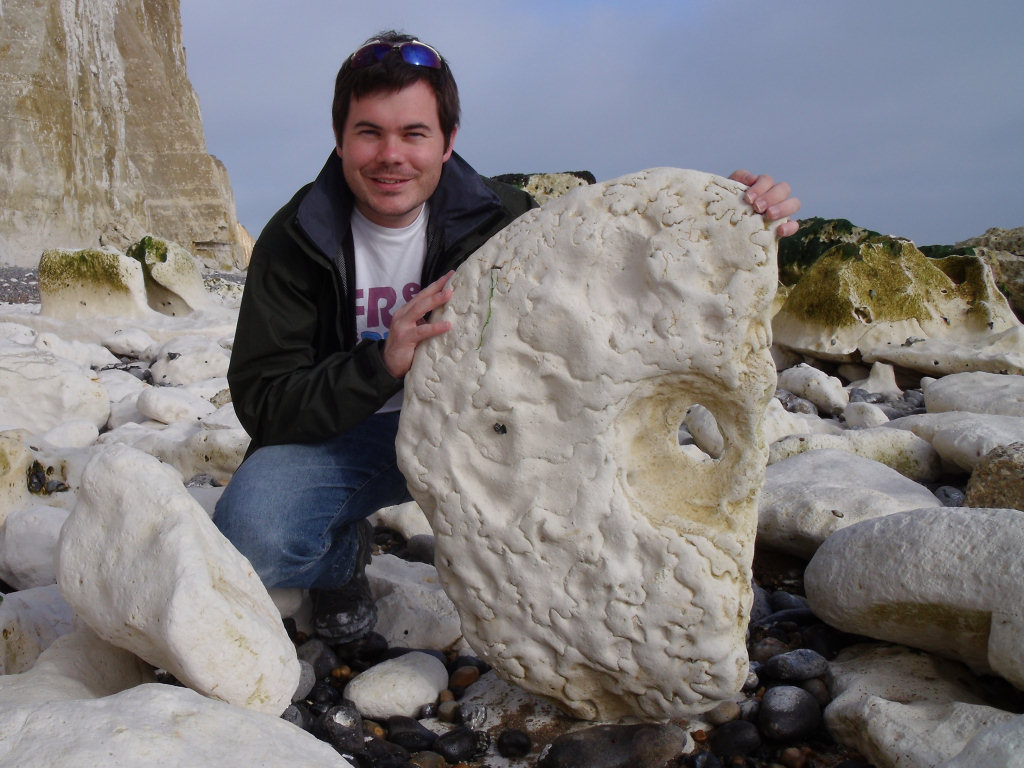
Collecting efforts should be directed towards the south-east (left when looking out to sea), beyond the sea defences, here the cliffs are exposed to sustained erosion and fossils can be collected from the resulting boulders strewn across the beach.


As with all coastal locations, a fossil hunting trip is best timed to coincide with a falling or low-tide. For a relatively low one-off cost we recommend the use of Neptune Tides software, which provides future tidal information around the UK. To download click here. Alternatively a free short range forecast covering the next 7 days is available on the BBC website click here.
What fossils might you find?
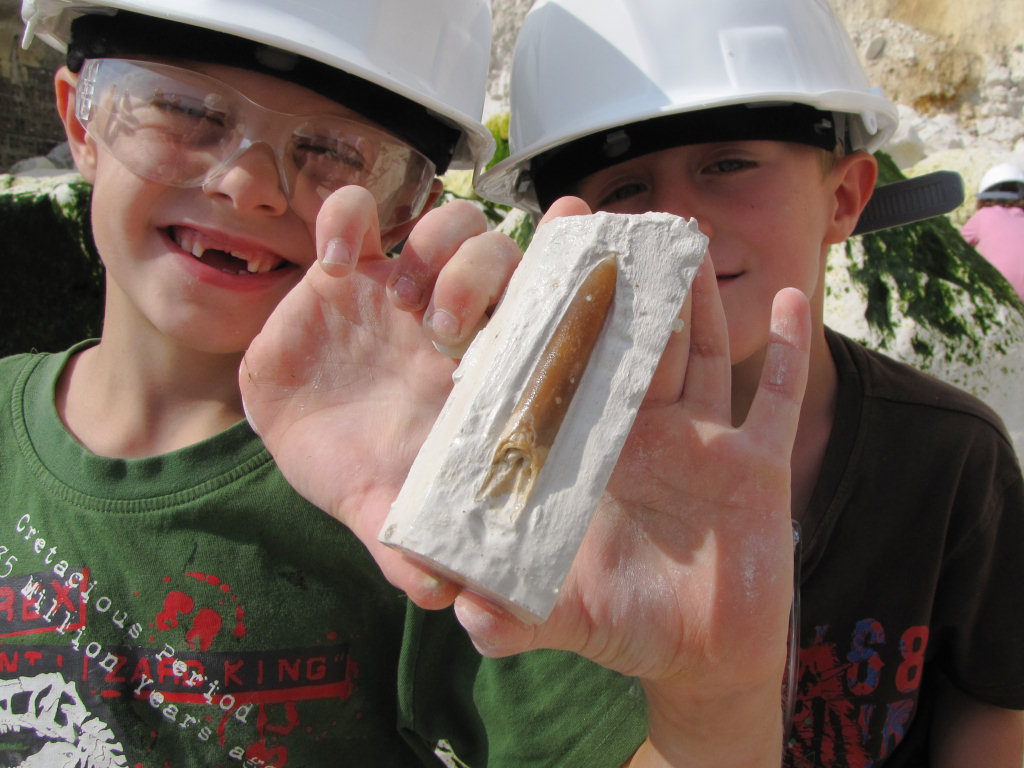
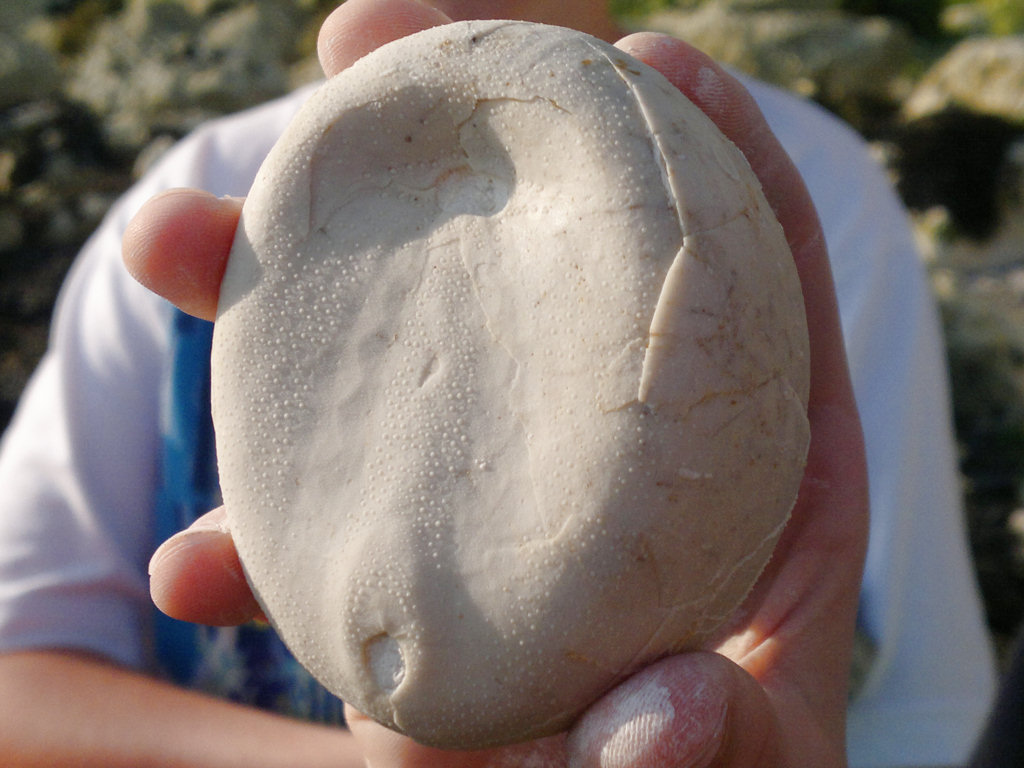
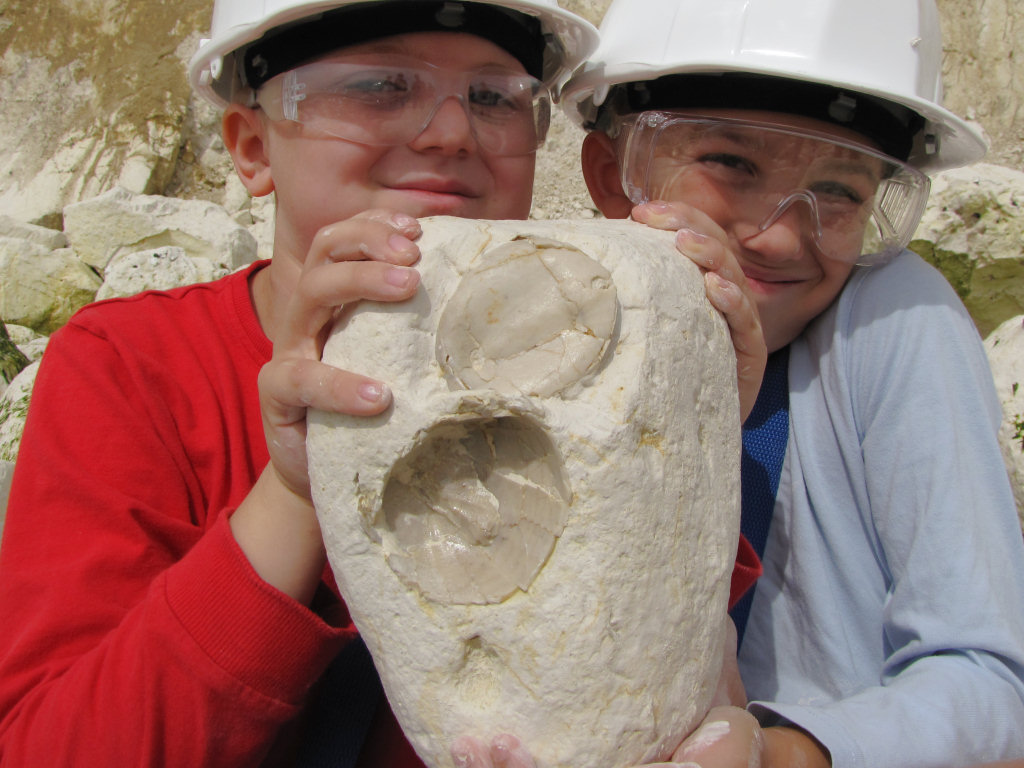
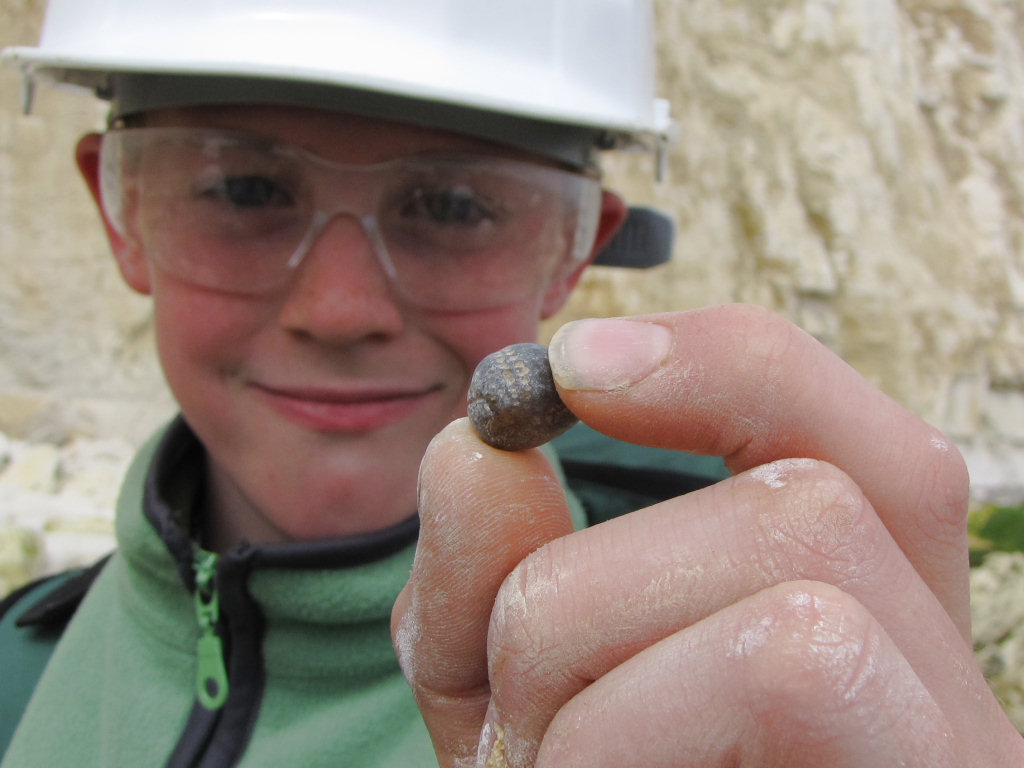
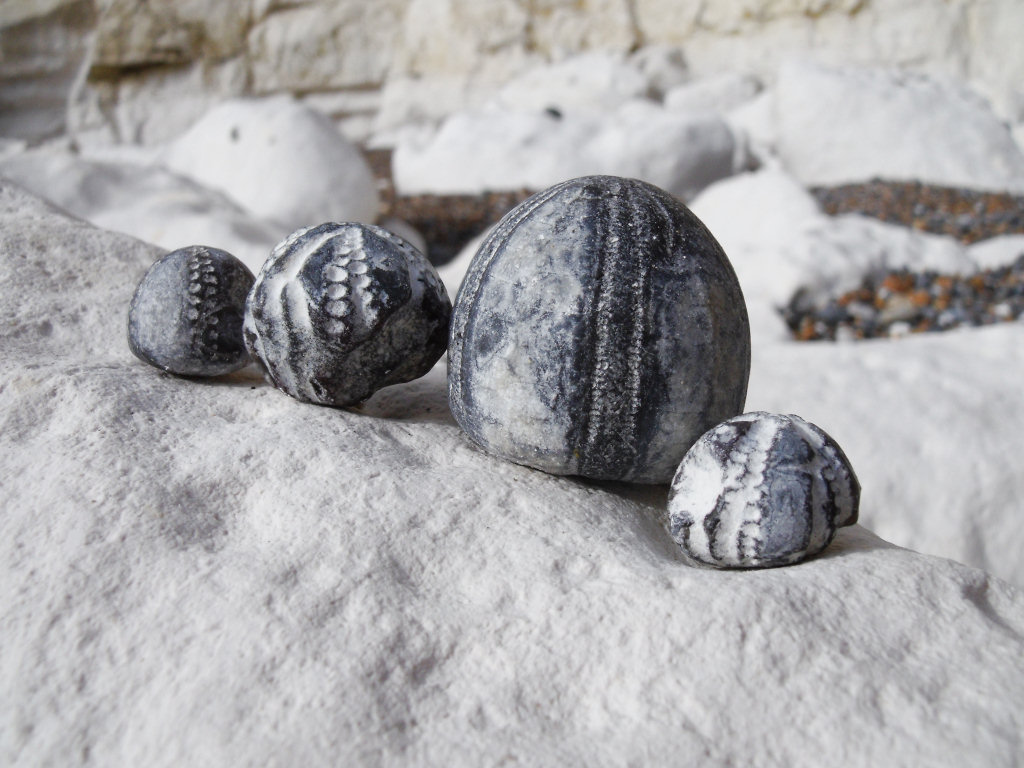
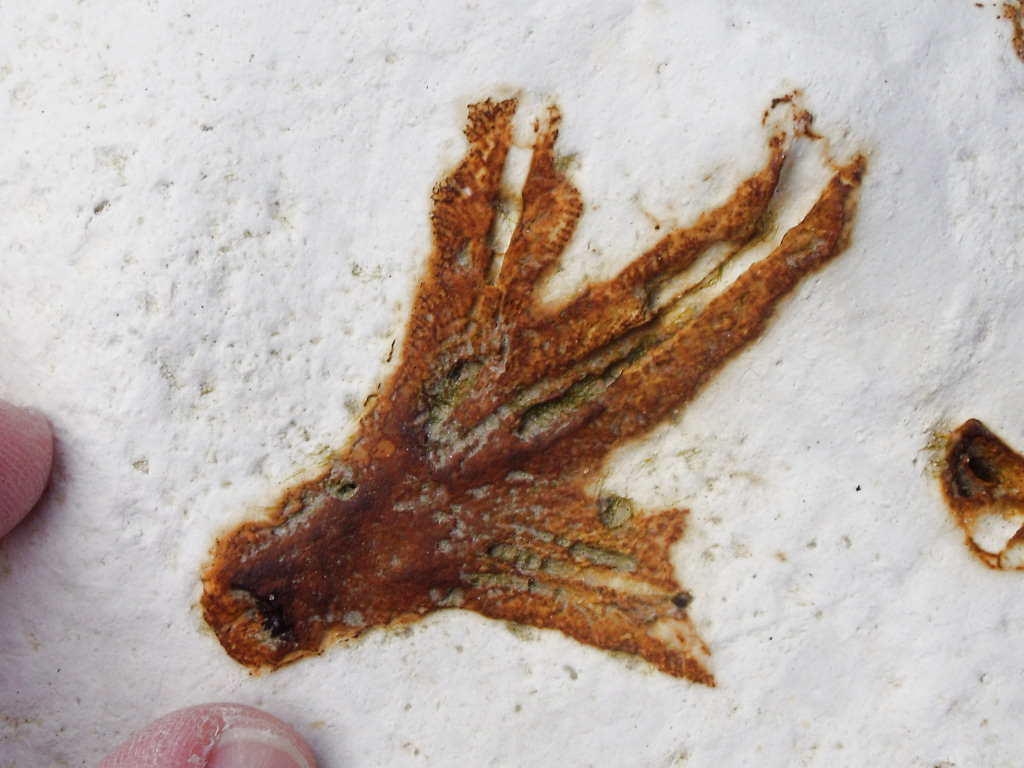
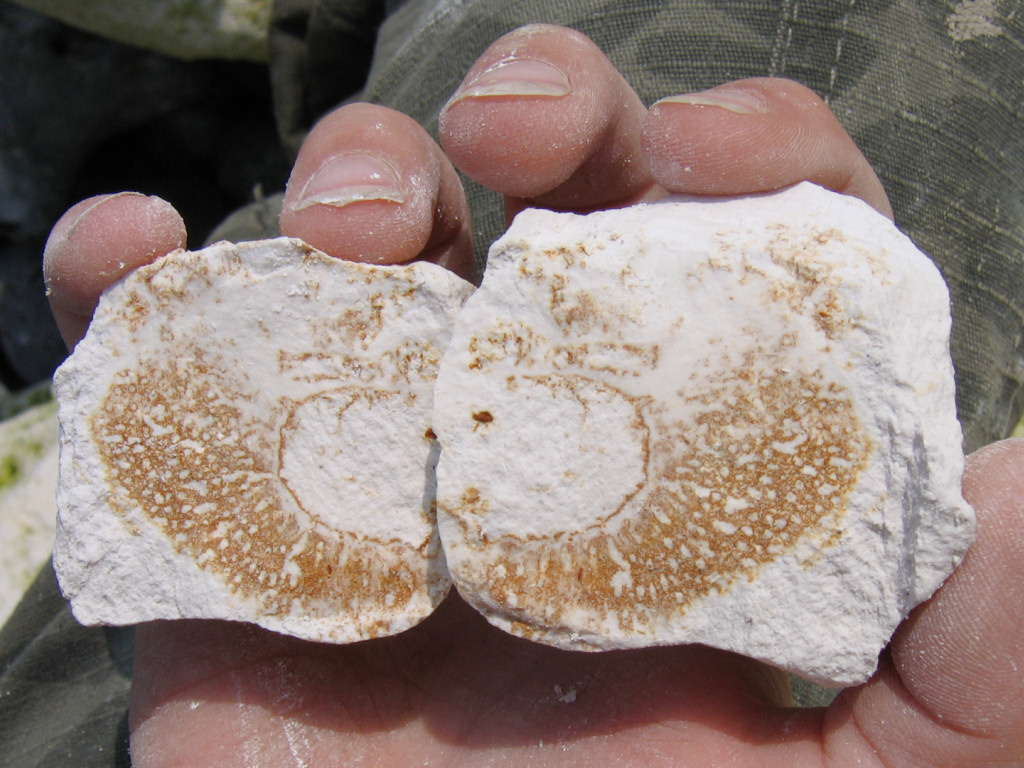
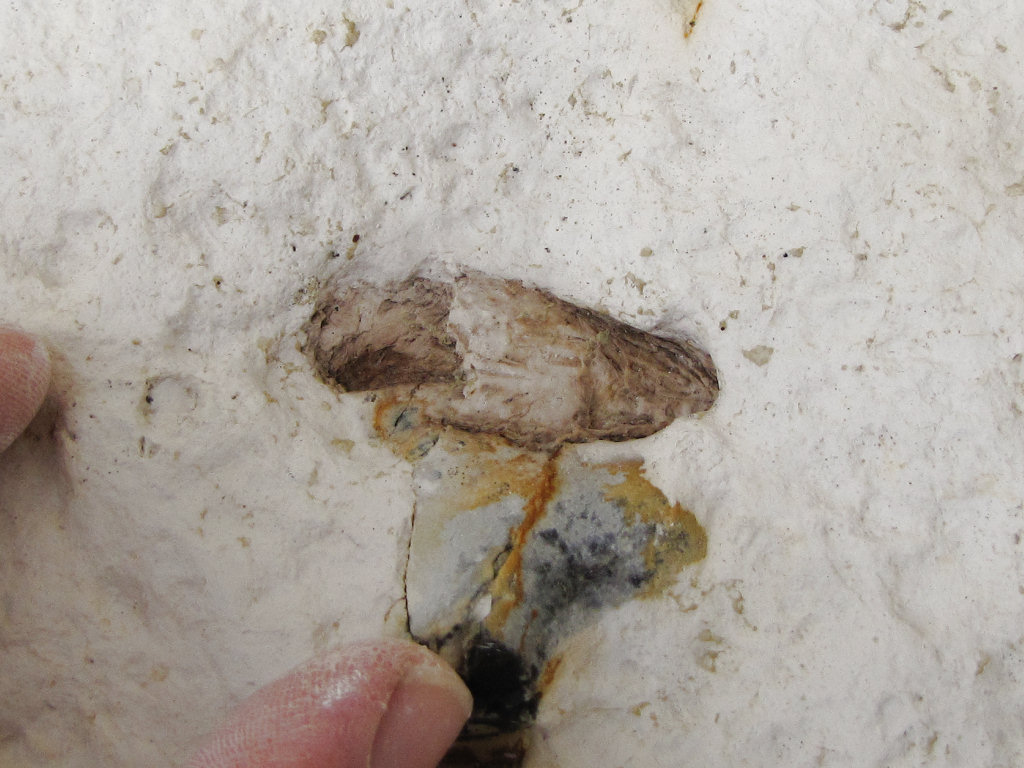
The most frequently seen fossils at Peacehaven are partial echinoid shells, usually observed in cross-section on the beach platform and on the surface of fallen rocks. Complete specimens are less common but can be found with relative ease. Other common fossils include bivalves, brachiopods, sponges, corals, and bryozoans, the latter of which can be seen on the outer surface of echinoid shells in particular. Less common fossils include shark teeth, fish remains and belemnites. On one occasion following the recovery of a large ammonite from fallen rocks at Friar’s Bay an exceptionally rare crab carapace was found on the underside (see Robert Randell’s British Chalk Fossils for details).


Tools & equipment
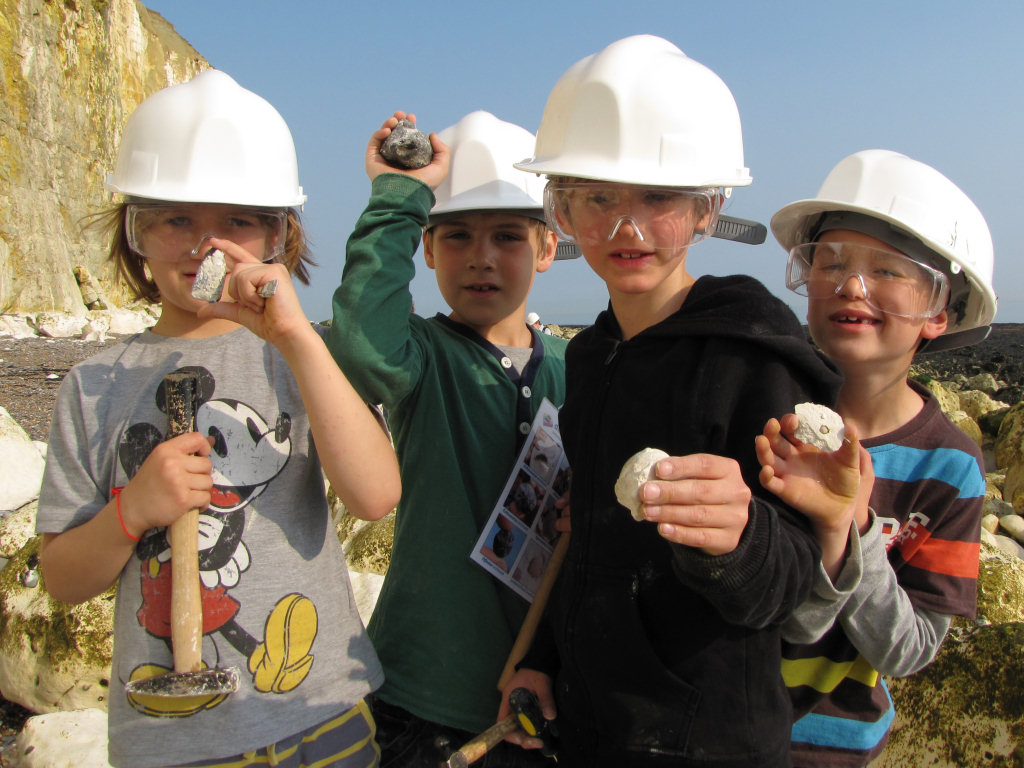
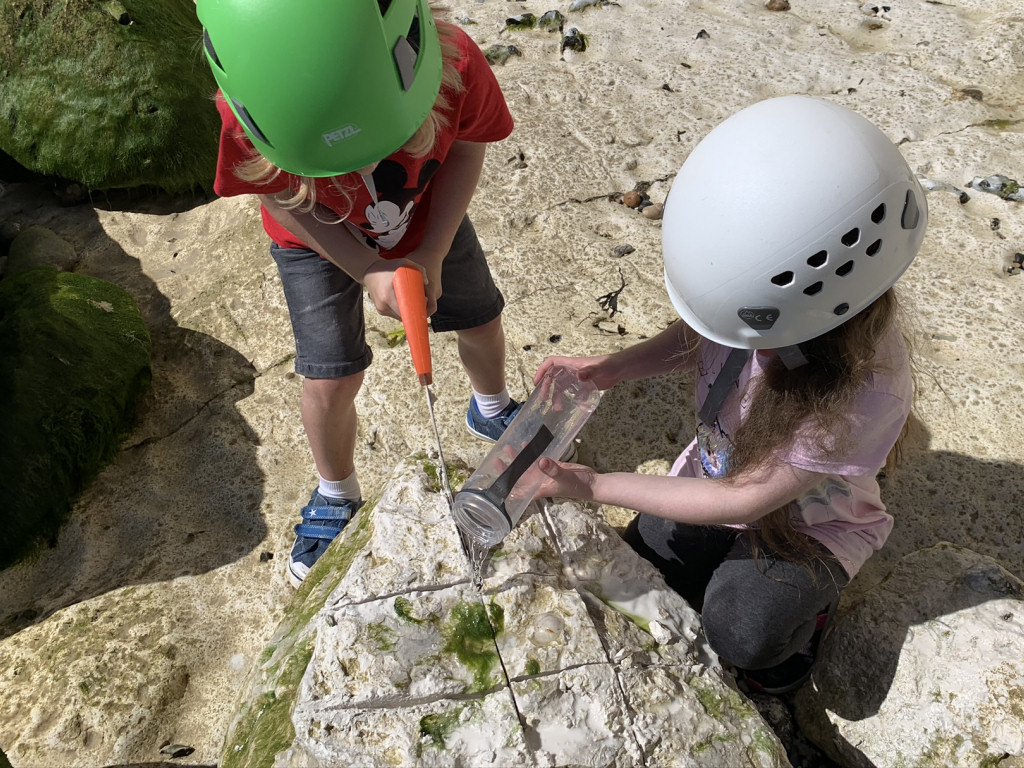
It’s a good idea to spend some time considering the tools and equipment you’re likely to require while fossil hunting at Peacehaven. Preparation in advance will help ensure your visit is productive and safe. Below are some of the items you should consider carrying with you. You can purchase a selection of geological tools and equipment online from UKGE.
Hammer: A strong hammer will be required to split prospective rocks. The hammer should be as heavy as can be easily managed without causing strain to the user. For individuals with less physical strength and children (in particular) we recommend a head weight no more than 500g.
Chisel: A chisel is required in conjunction with a hammer for removing fossils from the chalk. In most instances a large chisel should be used for completing the bulk of the work, while a smaller, more precise chisel should be used for finer work. A chisel founded from cold steel is recommended as this metal is especially engineered for hard materials.
Safety glasses: While hammering rocks there’s a risk of injury from rock splinters unless the necessary eye protection is worn. Safety glasses ensure any splinters are deflected away from the eyes. Eye protection should also be worn by spectators as splinters can travel several metres from their origin.
Strong bag: When considering the type of bag to use it’s worth setting aside one that will only be used for fossil hunting, rocks are usually dusty or muddy and will make a mess of anything they come in contact with. The bag will also need to carry a range of accessories which need to be easily accessible. Among the features recommended include: brightly coloured, a strong holder construction, back support, strong straps, plenty of easily accessible pockets and a rain cover.
Walking boots: A good pair of walking boots will protect you from ankle sprains, provide more grip on slippery surfaces and keep you dry in wet conditions. During your fossil hunt you’re likely to encounter a variety of terrains so footwear needs to be designed for a range of conditions.
For more information and examples of tools and equipment recommended for fossil hunting click here or shop online at UKGE.
Protecting your finds
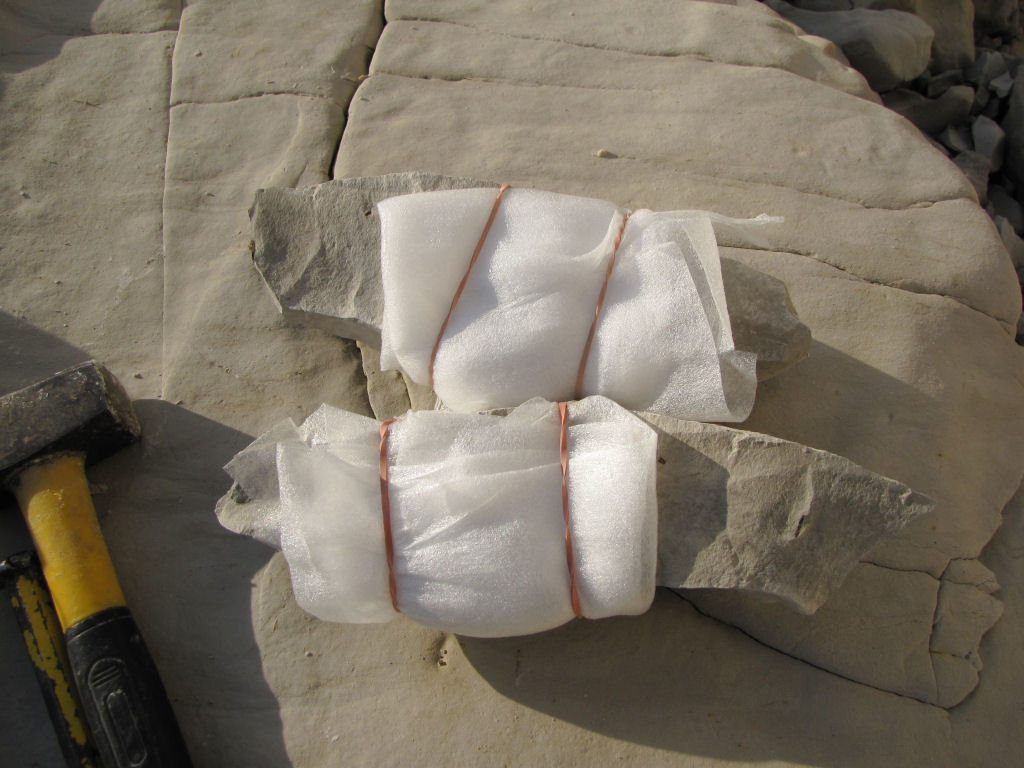
It’s important to spend some time considering the best way to protect your finds onsite, in transit, on display and in storage. Prior to your visit, consider the equipment and accessories you’re likely to need, as these will differ depending on the type of rock, terrain and prevailing weather conditions.
When you discover a fossil, examine the surrounding matrix (rock) and consider how best to remove the specimen without breaking it; patience and consideration are key. The aim of extraction is to remove the specimen with some of the matrix attached, as this will provide added protection during transit and future handling; sometimes breaks are unavoidable, but with care you should be able to extract most specimens intact. In the event of breakage, carefully gather all the pieces together, as in most cases repairs can be made at a later time.
For more information about collecting fossils please refer to the following online guides: Fossil Hunting and Conserving Prehistoric Evidence.
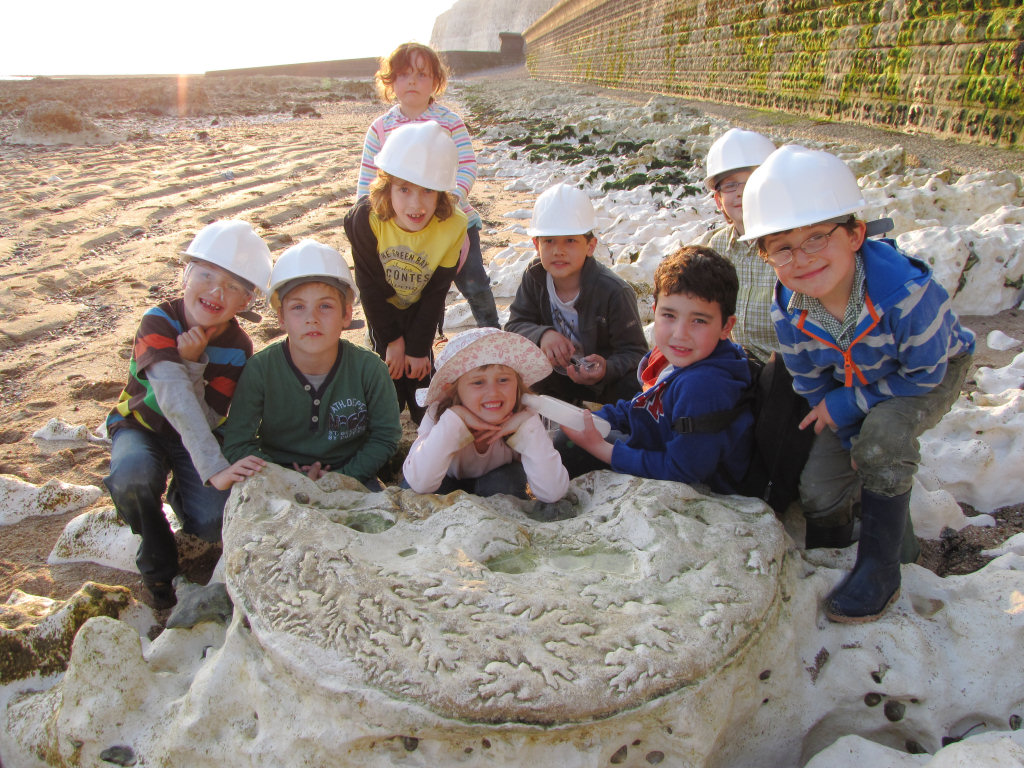
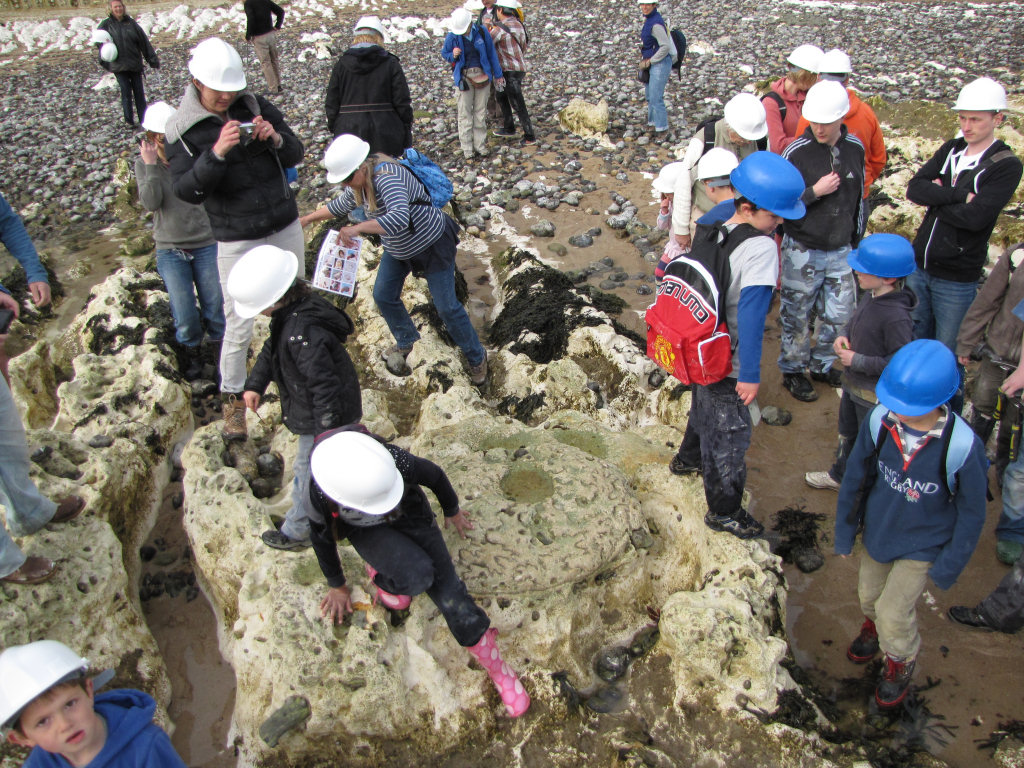
Join us on a fossil hunt
Discovering Fossils guided fossil hunts reveal evidence of life that existed millions of years ago. Whether it’s your first time fossil hunting or you’re looking to expand your subject knowledge, our fossil hunts provide an enjoyable and educational experience for all. To find out more click here.
Page references: Population figures from www.wikipedia.co.uk; A Dynamic Stratigraphy of the British Isles, R. Anderton; A Geologic Time Scale 2004, by F. Gradstein, J. Ogg and A. Smith; Geological Conservation Review Series, British Upper Cretaceous Stratigraphy; British Geological Survey, Geology of the country around Brighton and Worthing, Young and Lake; Robert Randell, British Chalk Fossils, www.chalk.discoveringfossils.co.uk; Fossils of the Chalk 2nd edition, A. Smith and D. Batten.